Plus/4 Repurpose
10 PRINT"WE LOVE THE RETRO!!!";
Retro Me
Back in time
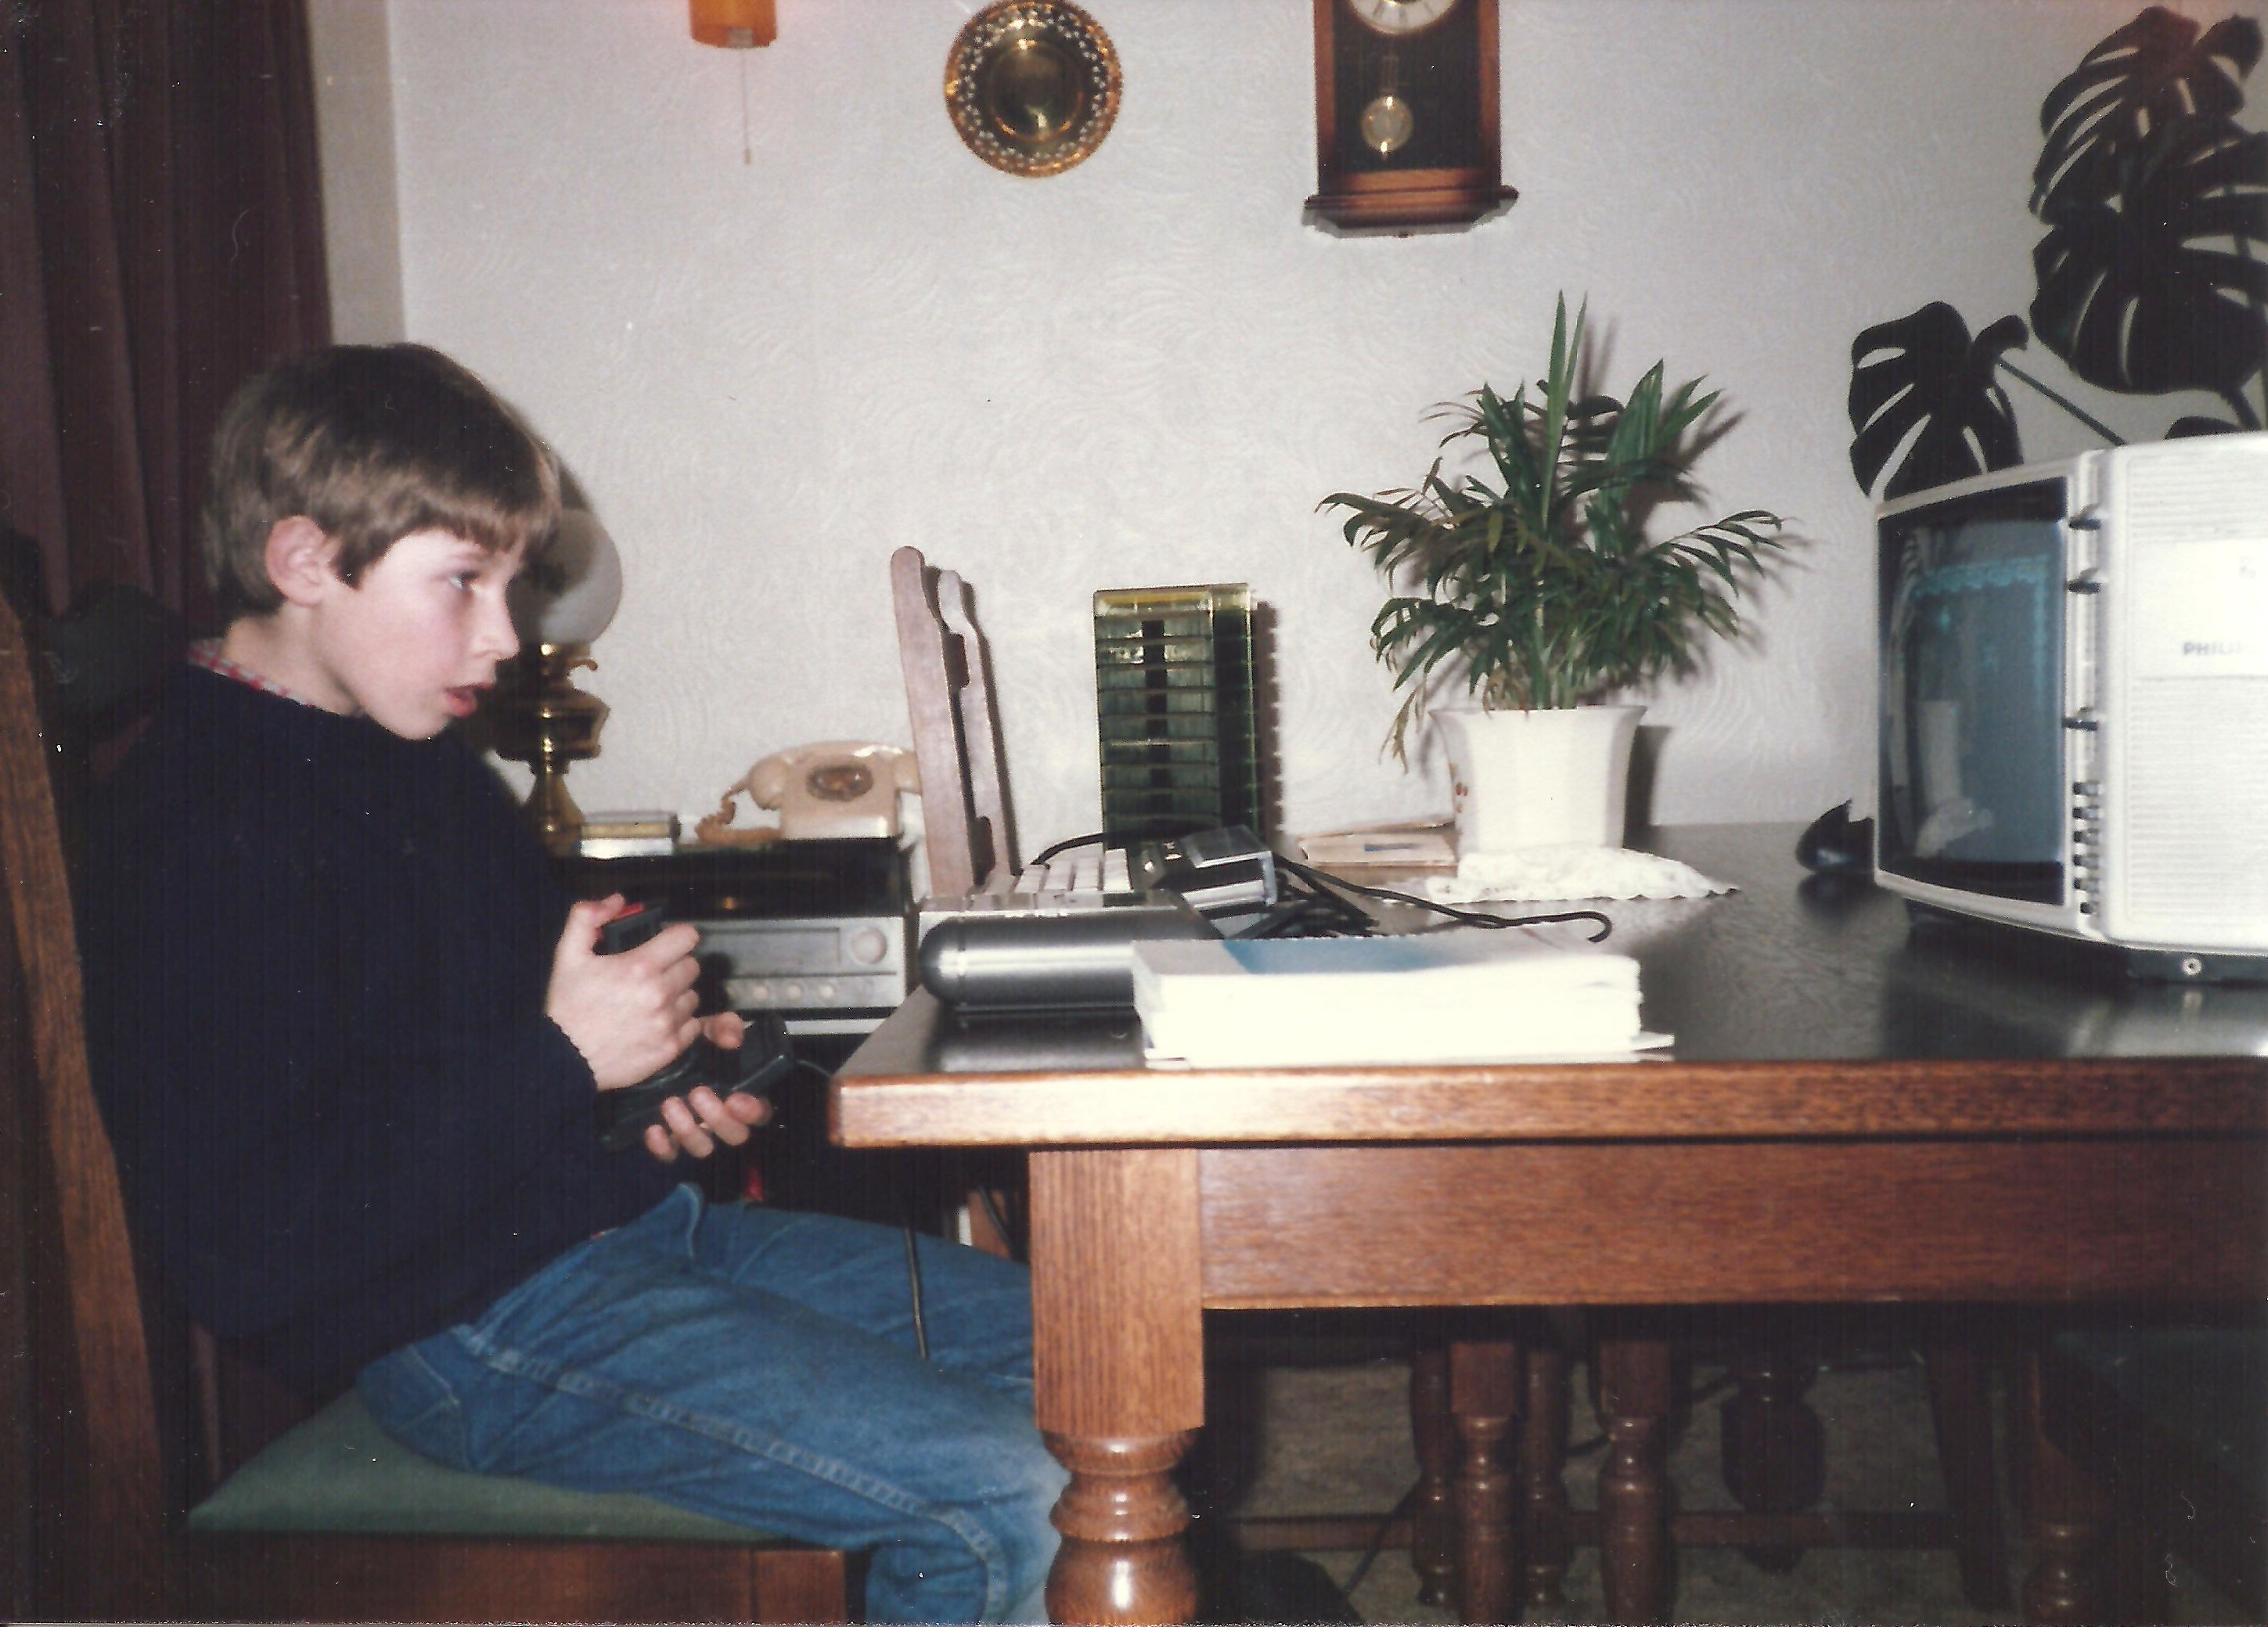
They say first experiences stay with you. Well, as a 10 year old with a brand new Commodore Plus/4 I can say that this is true. It is not uncommon for me still, 35 years later to get the old Plus/4 out and have a game of Treasure island or Icicle works. My kids even enjoy having a go on the old comp. Now, over the years I have owned rather a lot of retro computing equipment, most of which I sold a few years back, however, I couldn't let go of my Plus/4 and an empty +/4 case and keyboard. For years, this empty keyboard has sat under my bed, awaiting some kind of love. This is what I did....
On-Line Teaching
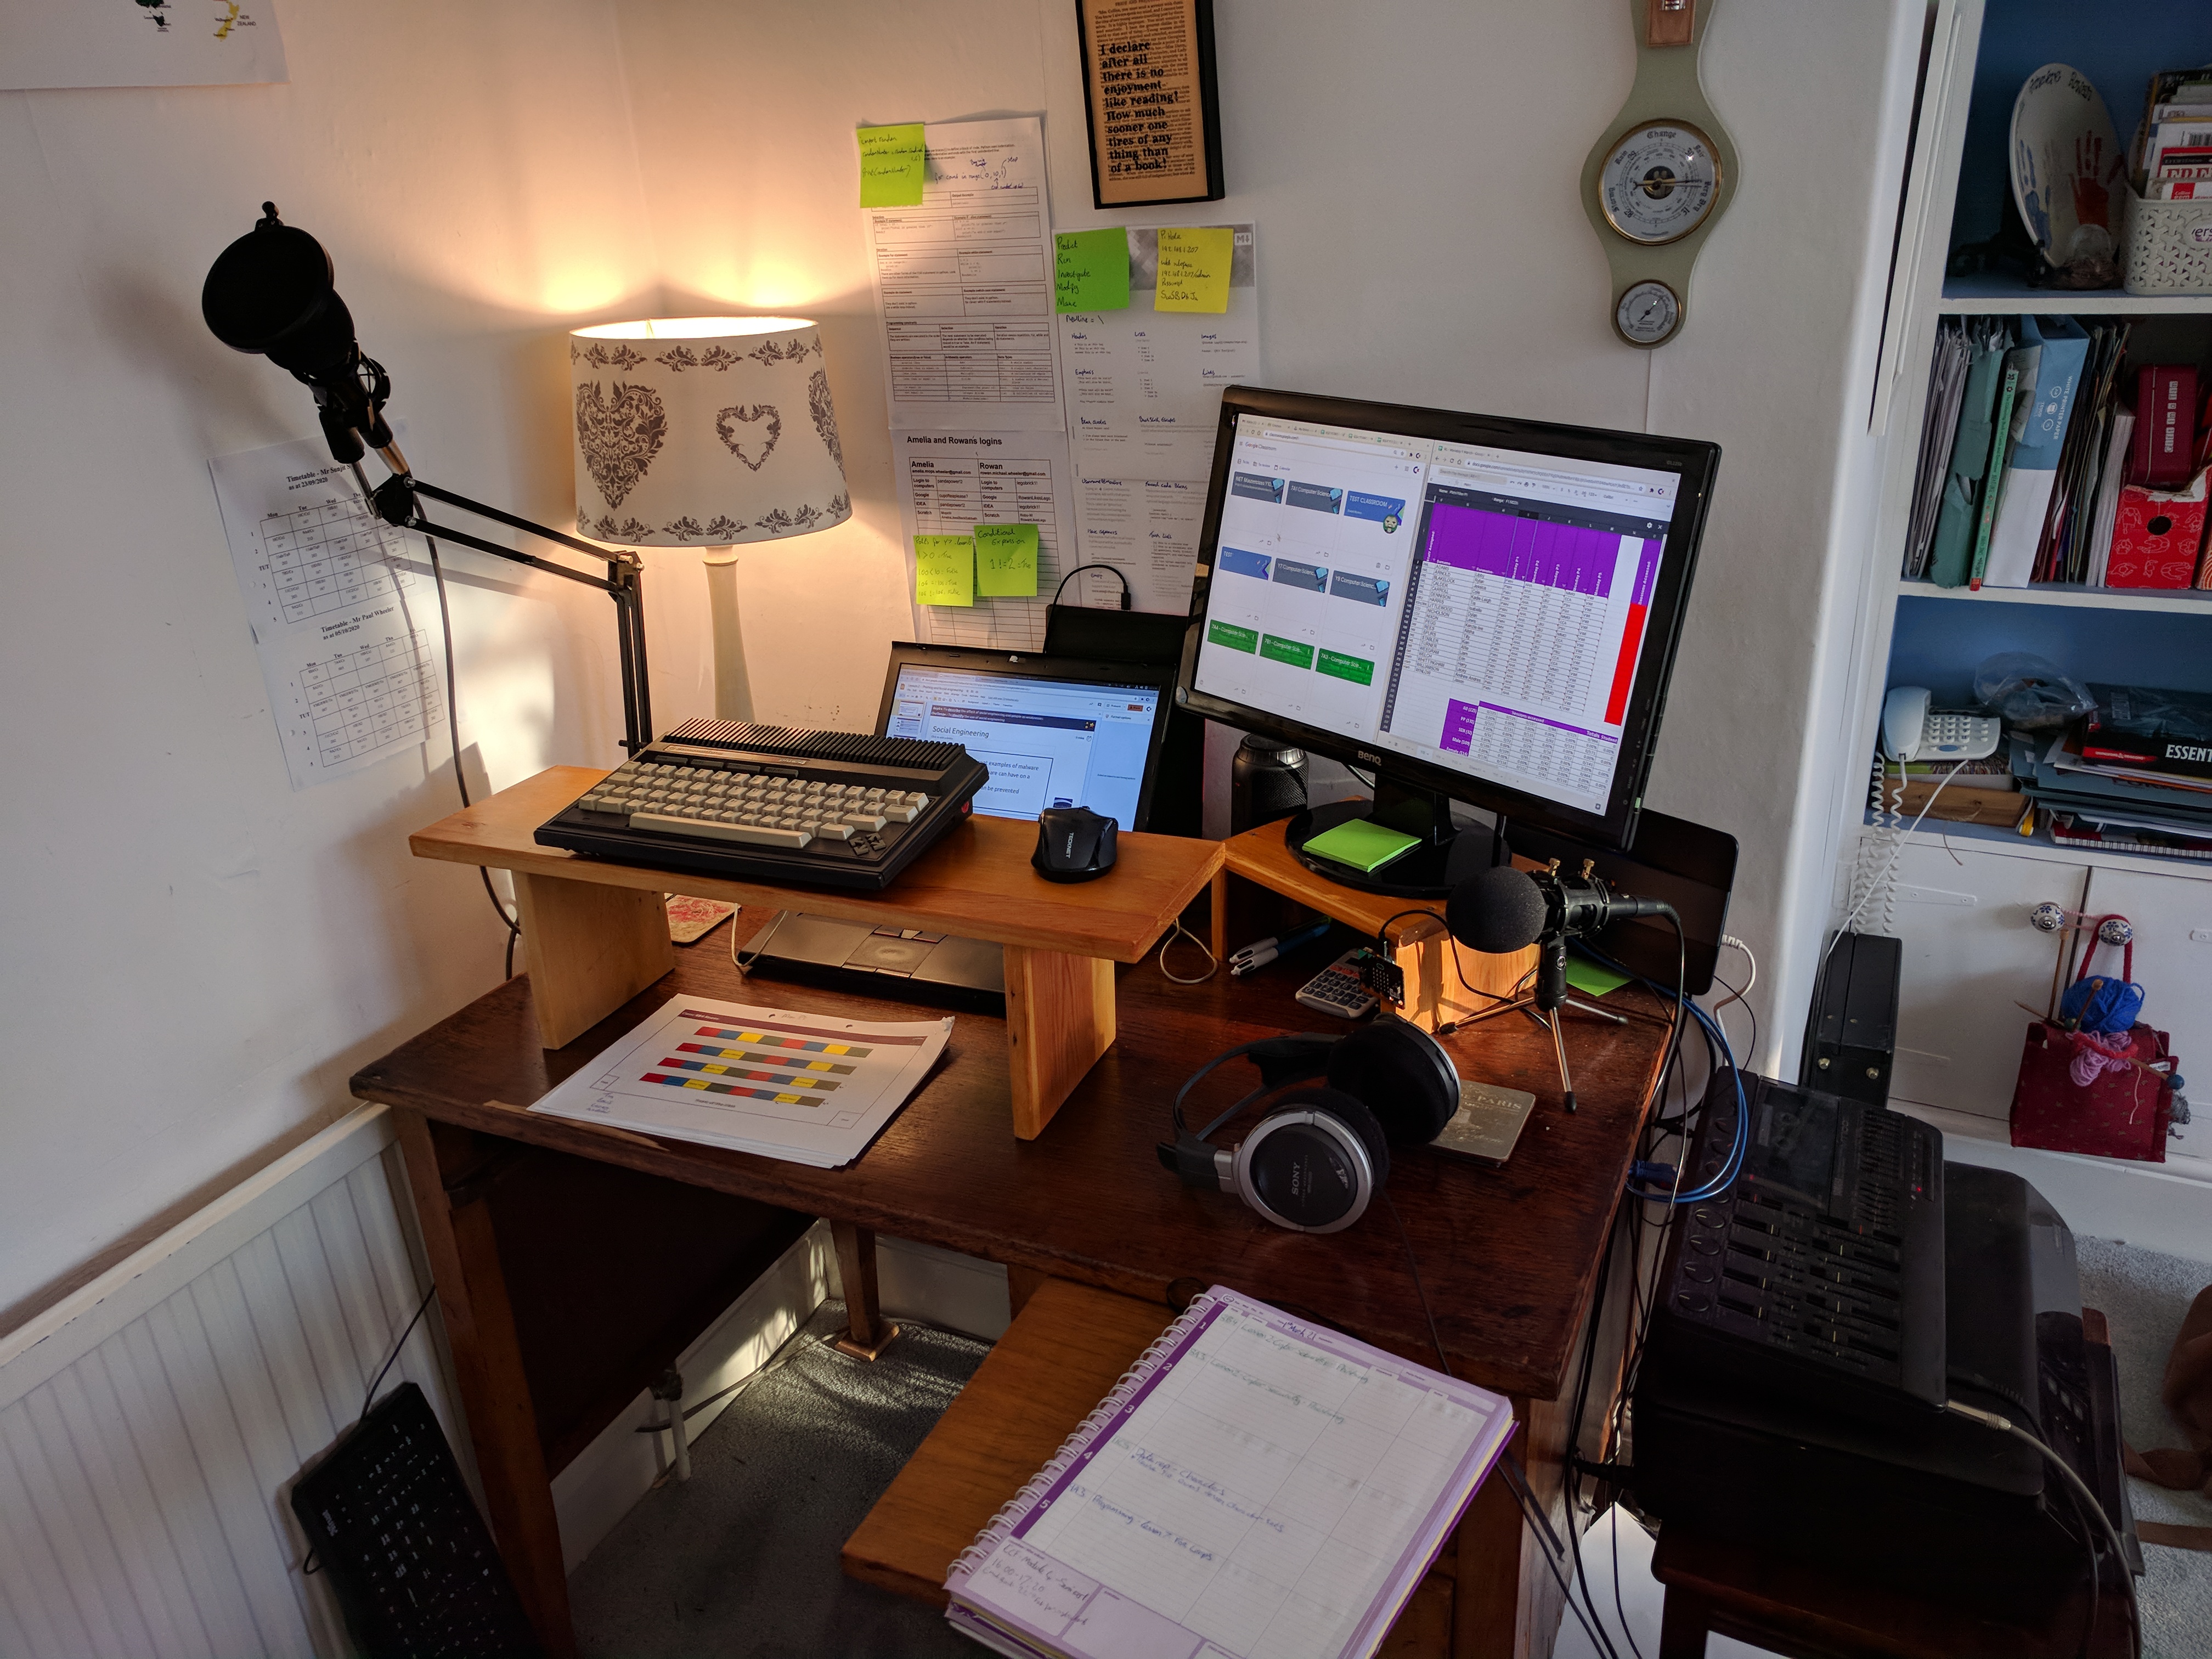
After a weekend of sometimes frustrating soldering, I now have a Commodore Plus/4 USB Keybord. I can't deny there was a certain hygge feel to doing my registers on a 36 year old keyboard. Anyone who owned a Plus/4 will remember that lovely spongy feel and the clacky sound of its keypresses. I used this for about 4 hours, and then.... gave up! Truth is, some of the characters are in the incorrect places, things like brackets() and {} and []. This might not pose a problem to some, but when I was trying to live demo some python coding, it really held me back. I eventually unplugged it and sat it on a shelf.
How did I make it into a USB compatible keyboard?
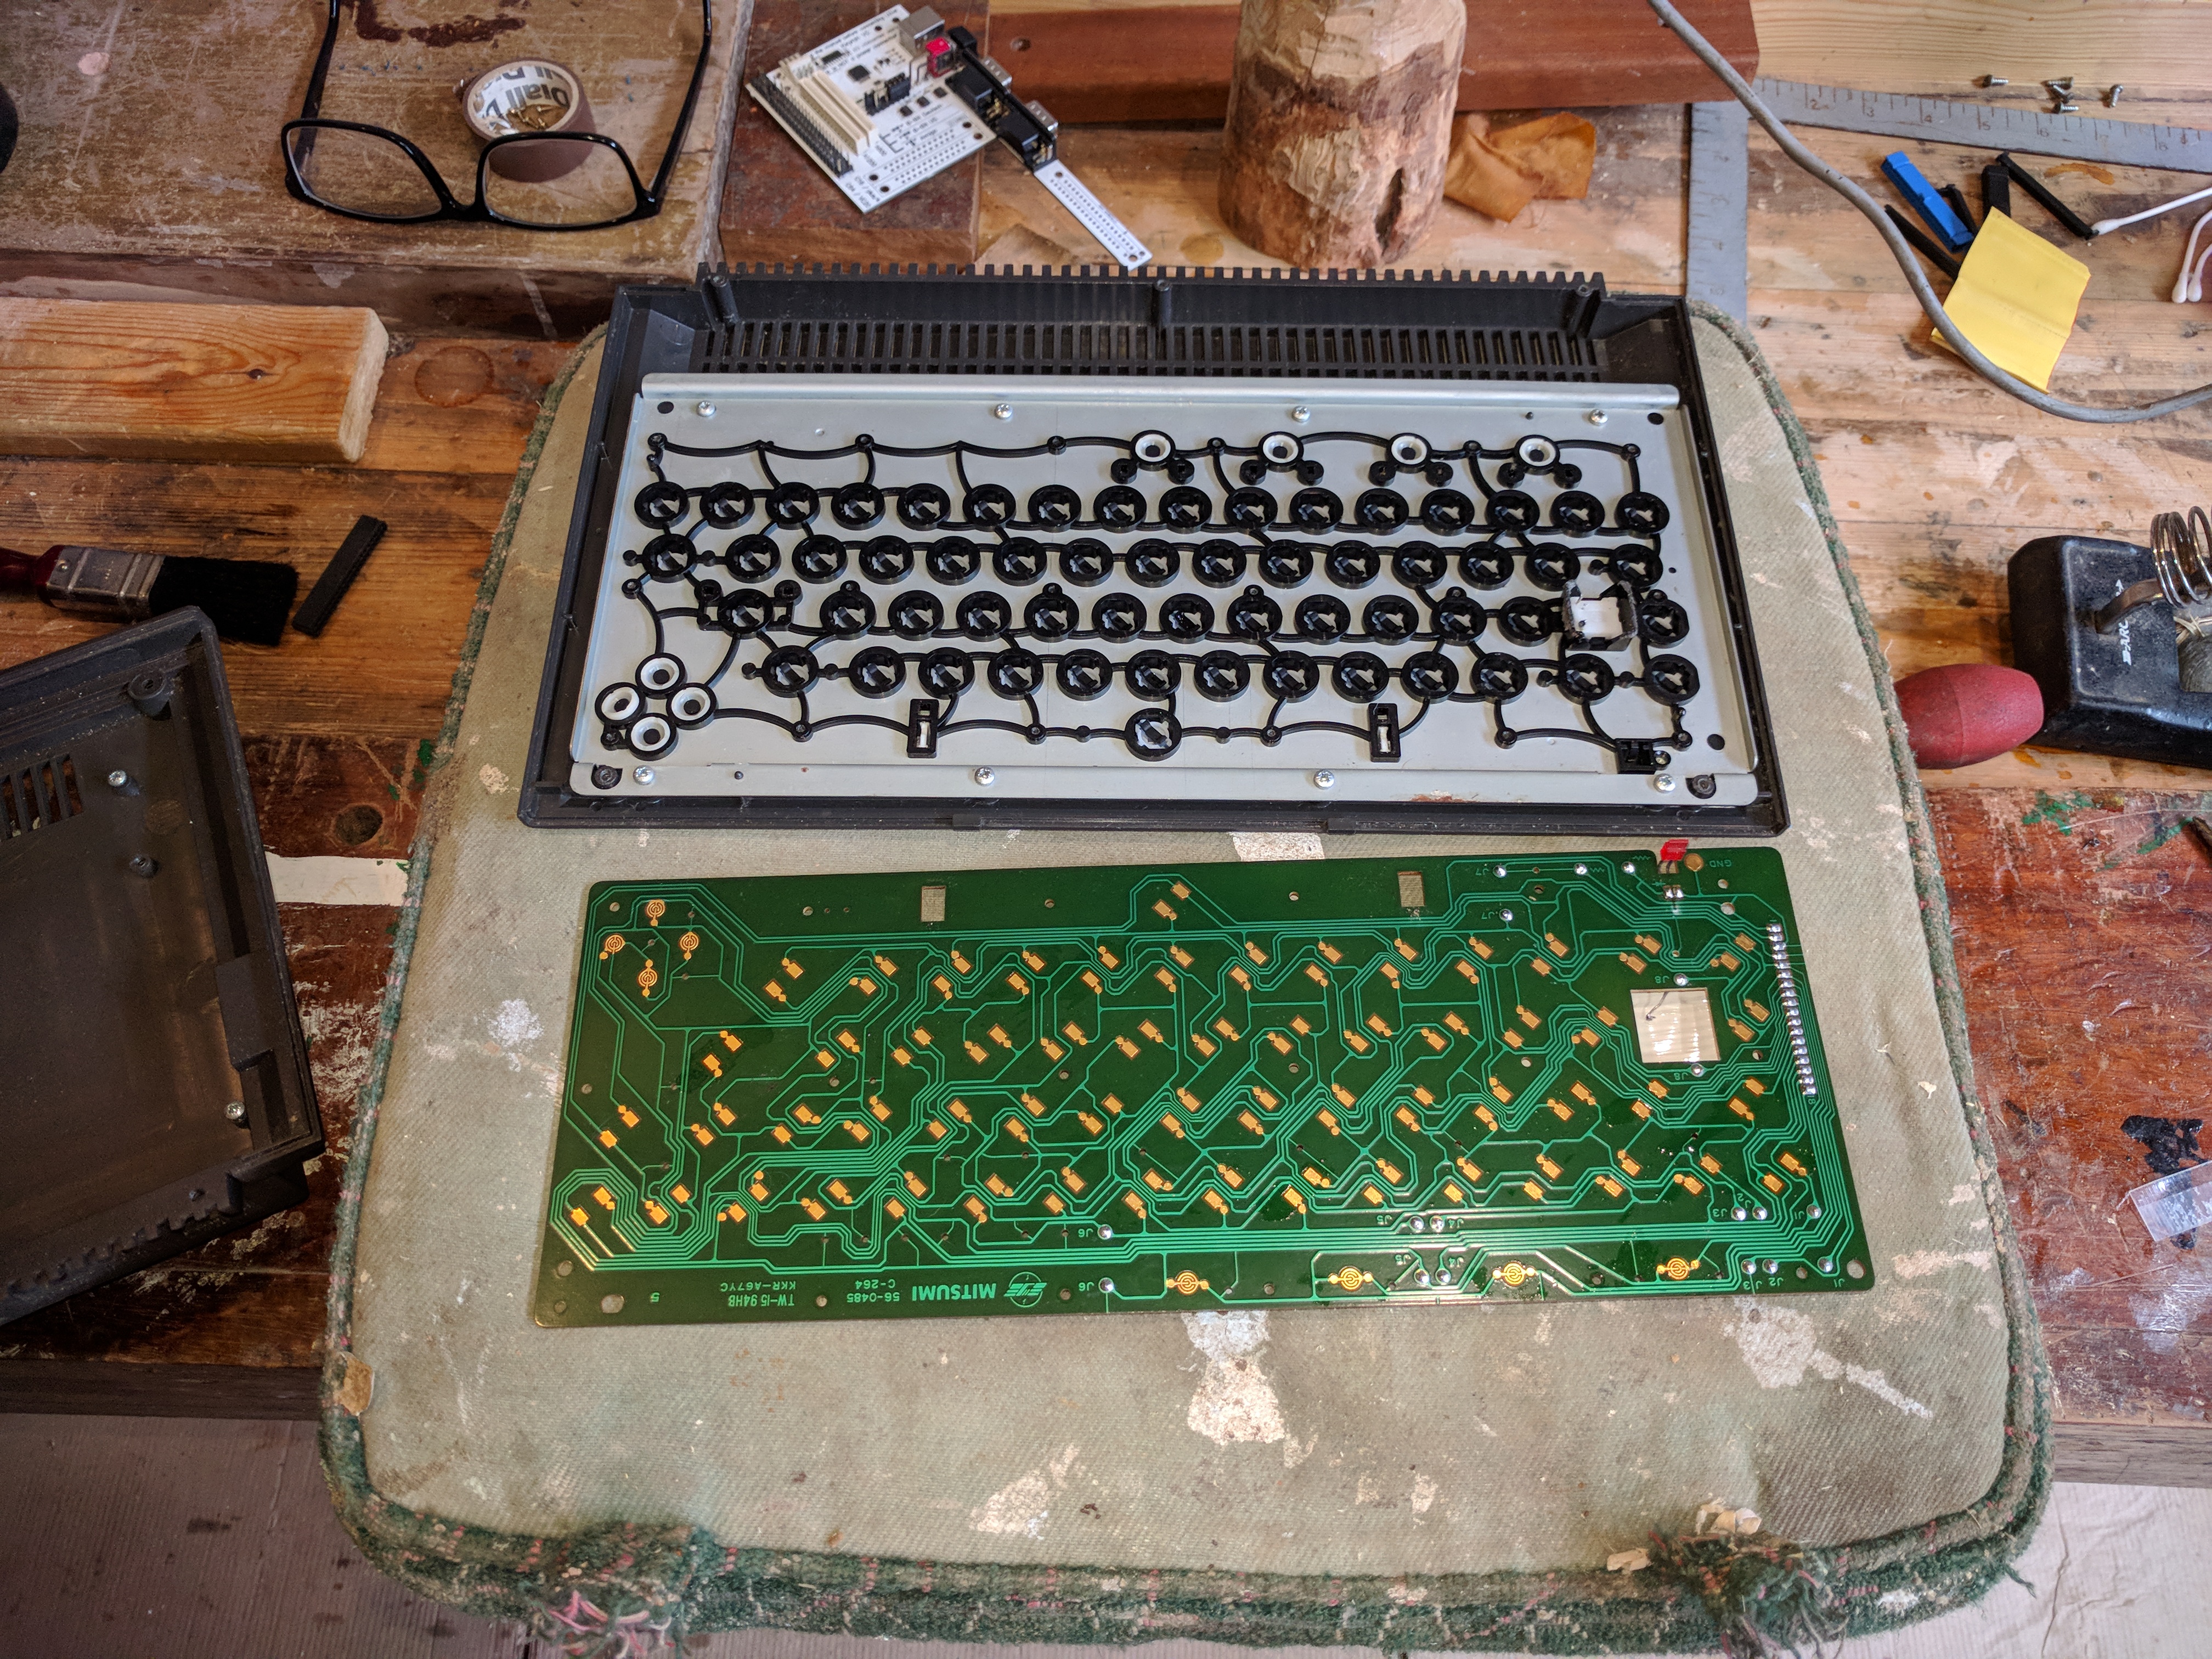
Initially, I stripped the keyboard and gave it a good clean with methylated spirits on all of the contact areas. I had a Keyrah v2.0 hanging around which I used to have in my retro CommoPi 64.(I'm going to have it's original motherboard fixed).

Finding instructions for the Plus/4 was almost impossible, however, I found Mr Ian Hill's blog at ianwilliamhill.co.uk
I then ignored his description of the madness that is trying to solder the Plus/4's keyboard ribon cable to the keyrah.
2 hours later, I decided Mr Hill is wiser than I.

I put an order in for these Breadboard jumper cables Armed with my new set of Jumper cables, I wet to work de-soldering the old ribbon cable and soldering in the new wires. This went well..... until I tried connecting them to the Keyrah. Very soon they started to snap at the solder points as soon as I bent them over:-( WAHHH!
Obviously, I needed to have a cup of coffee and a biscuit! Once recharging my optimism, I went back to it.
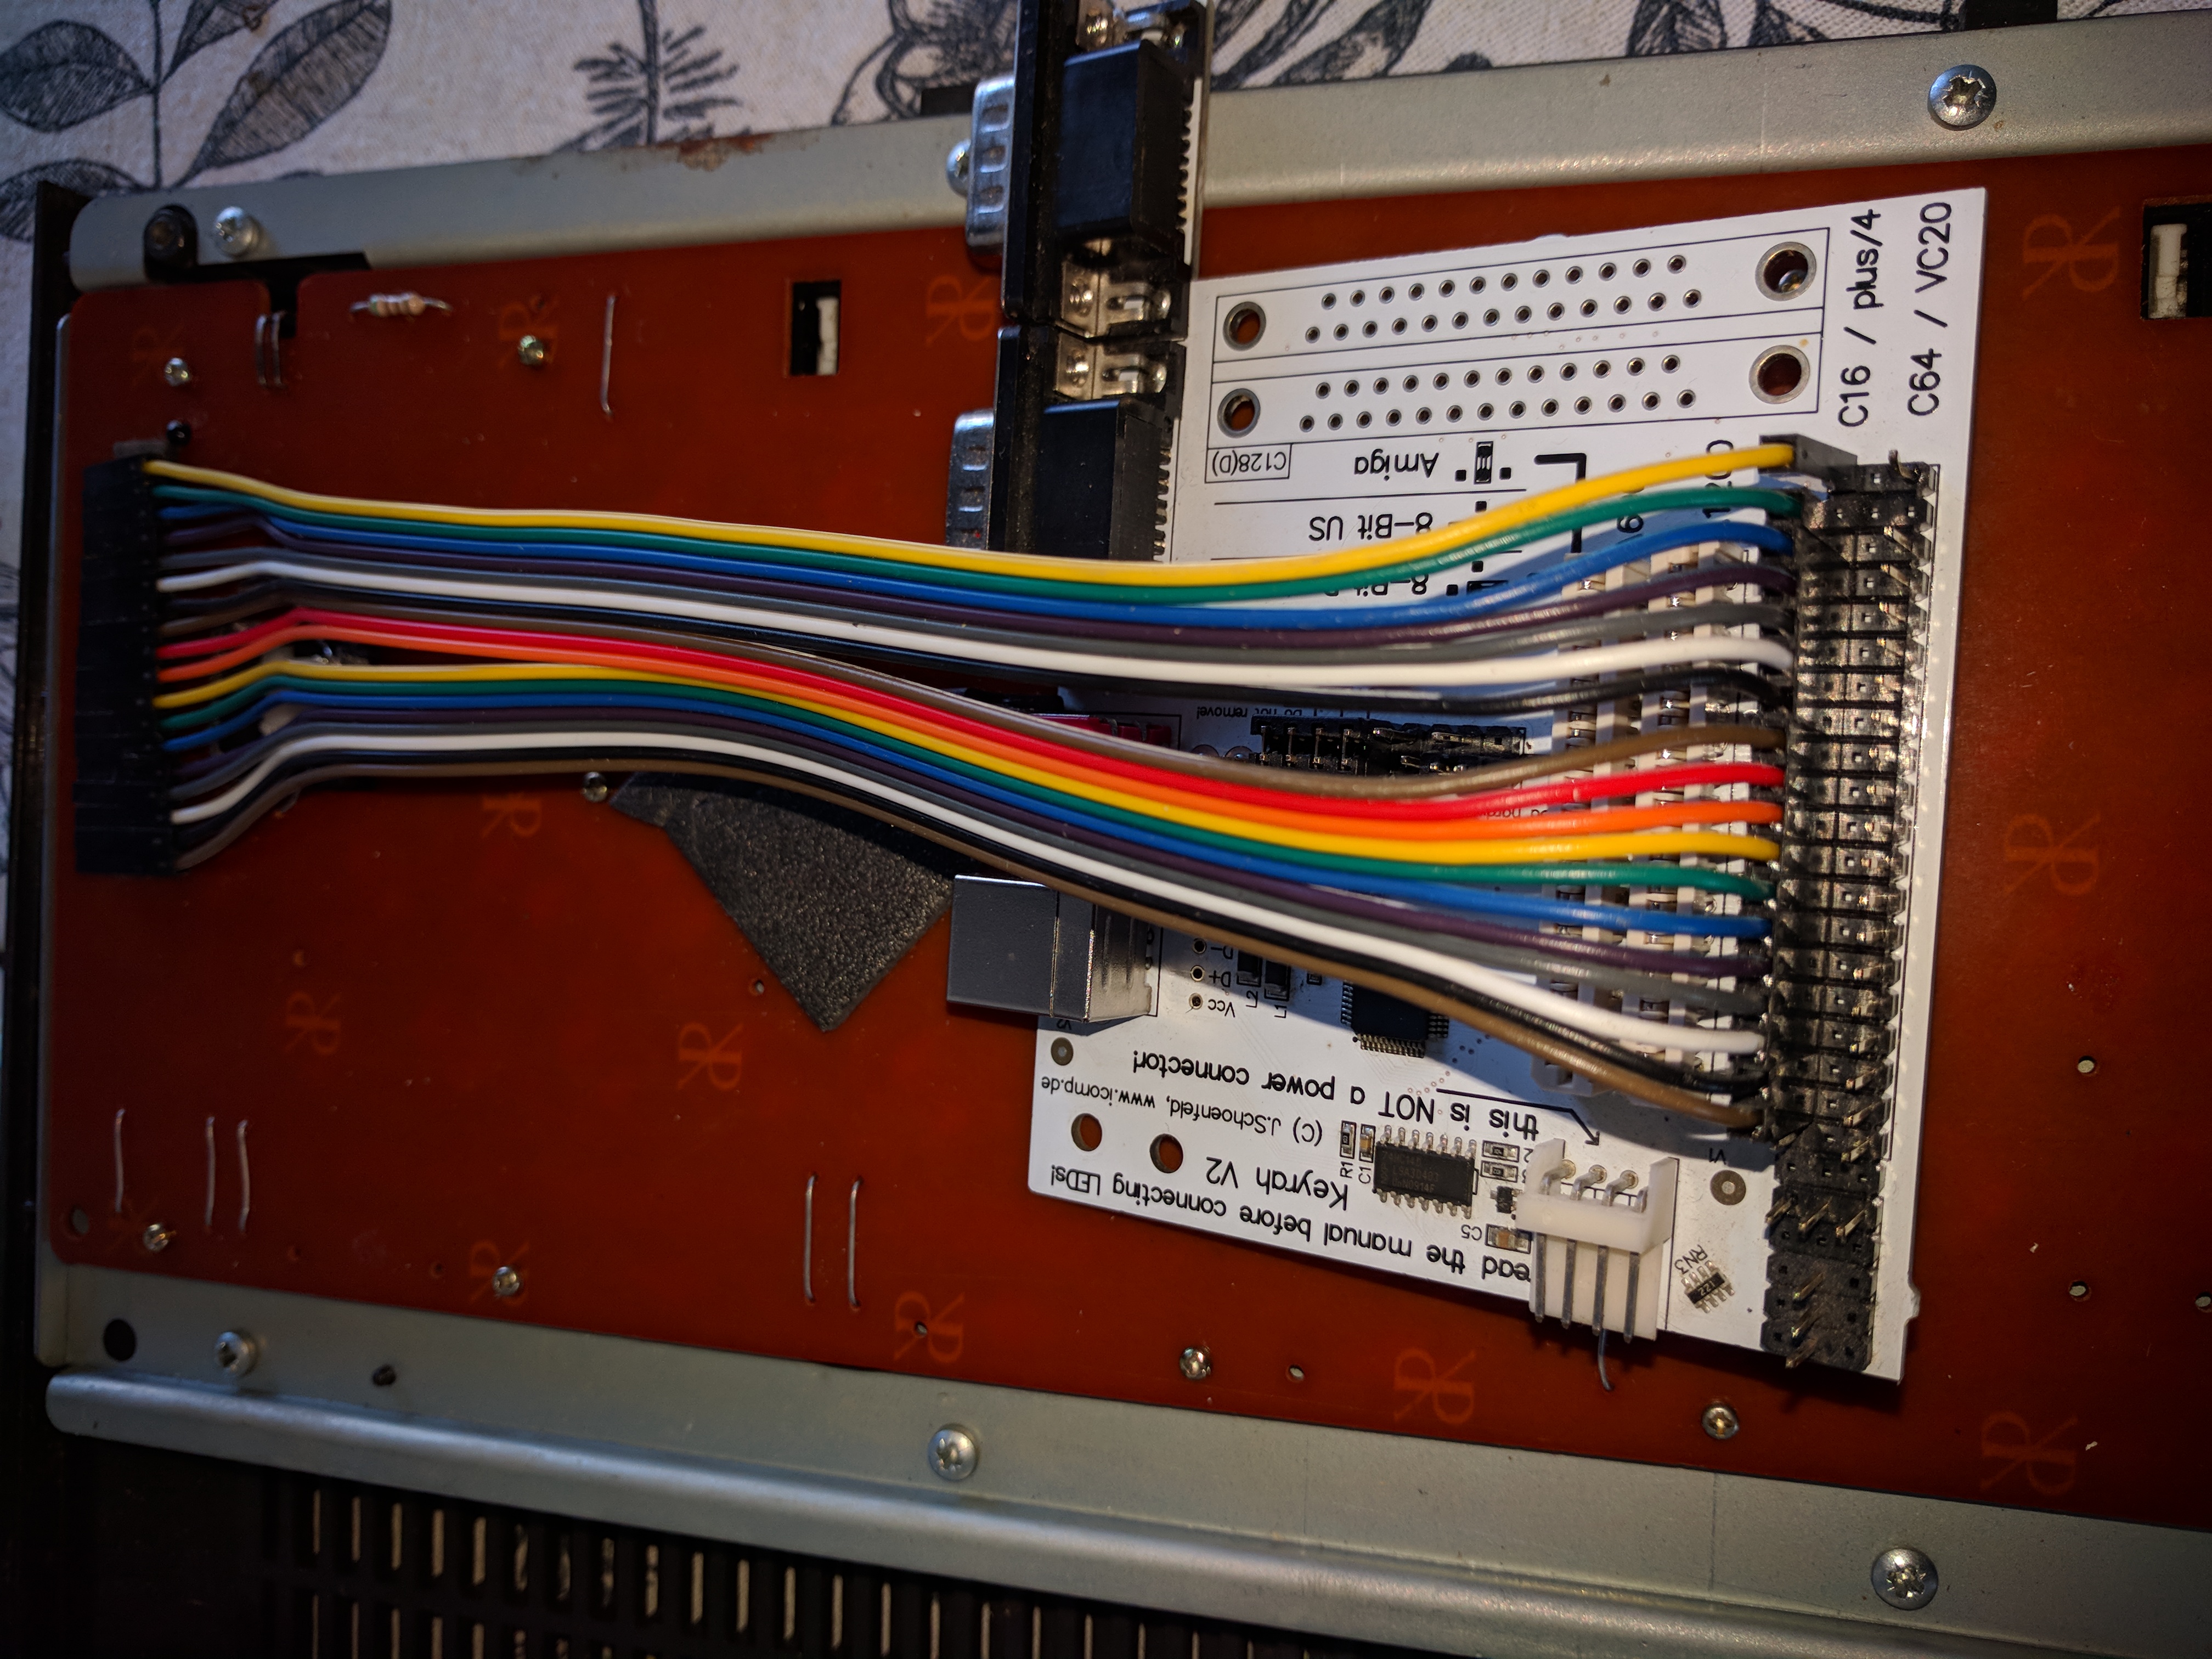
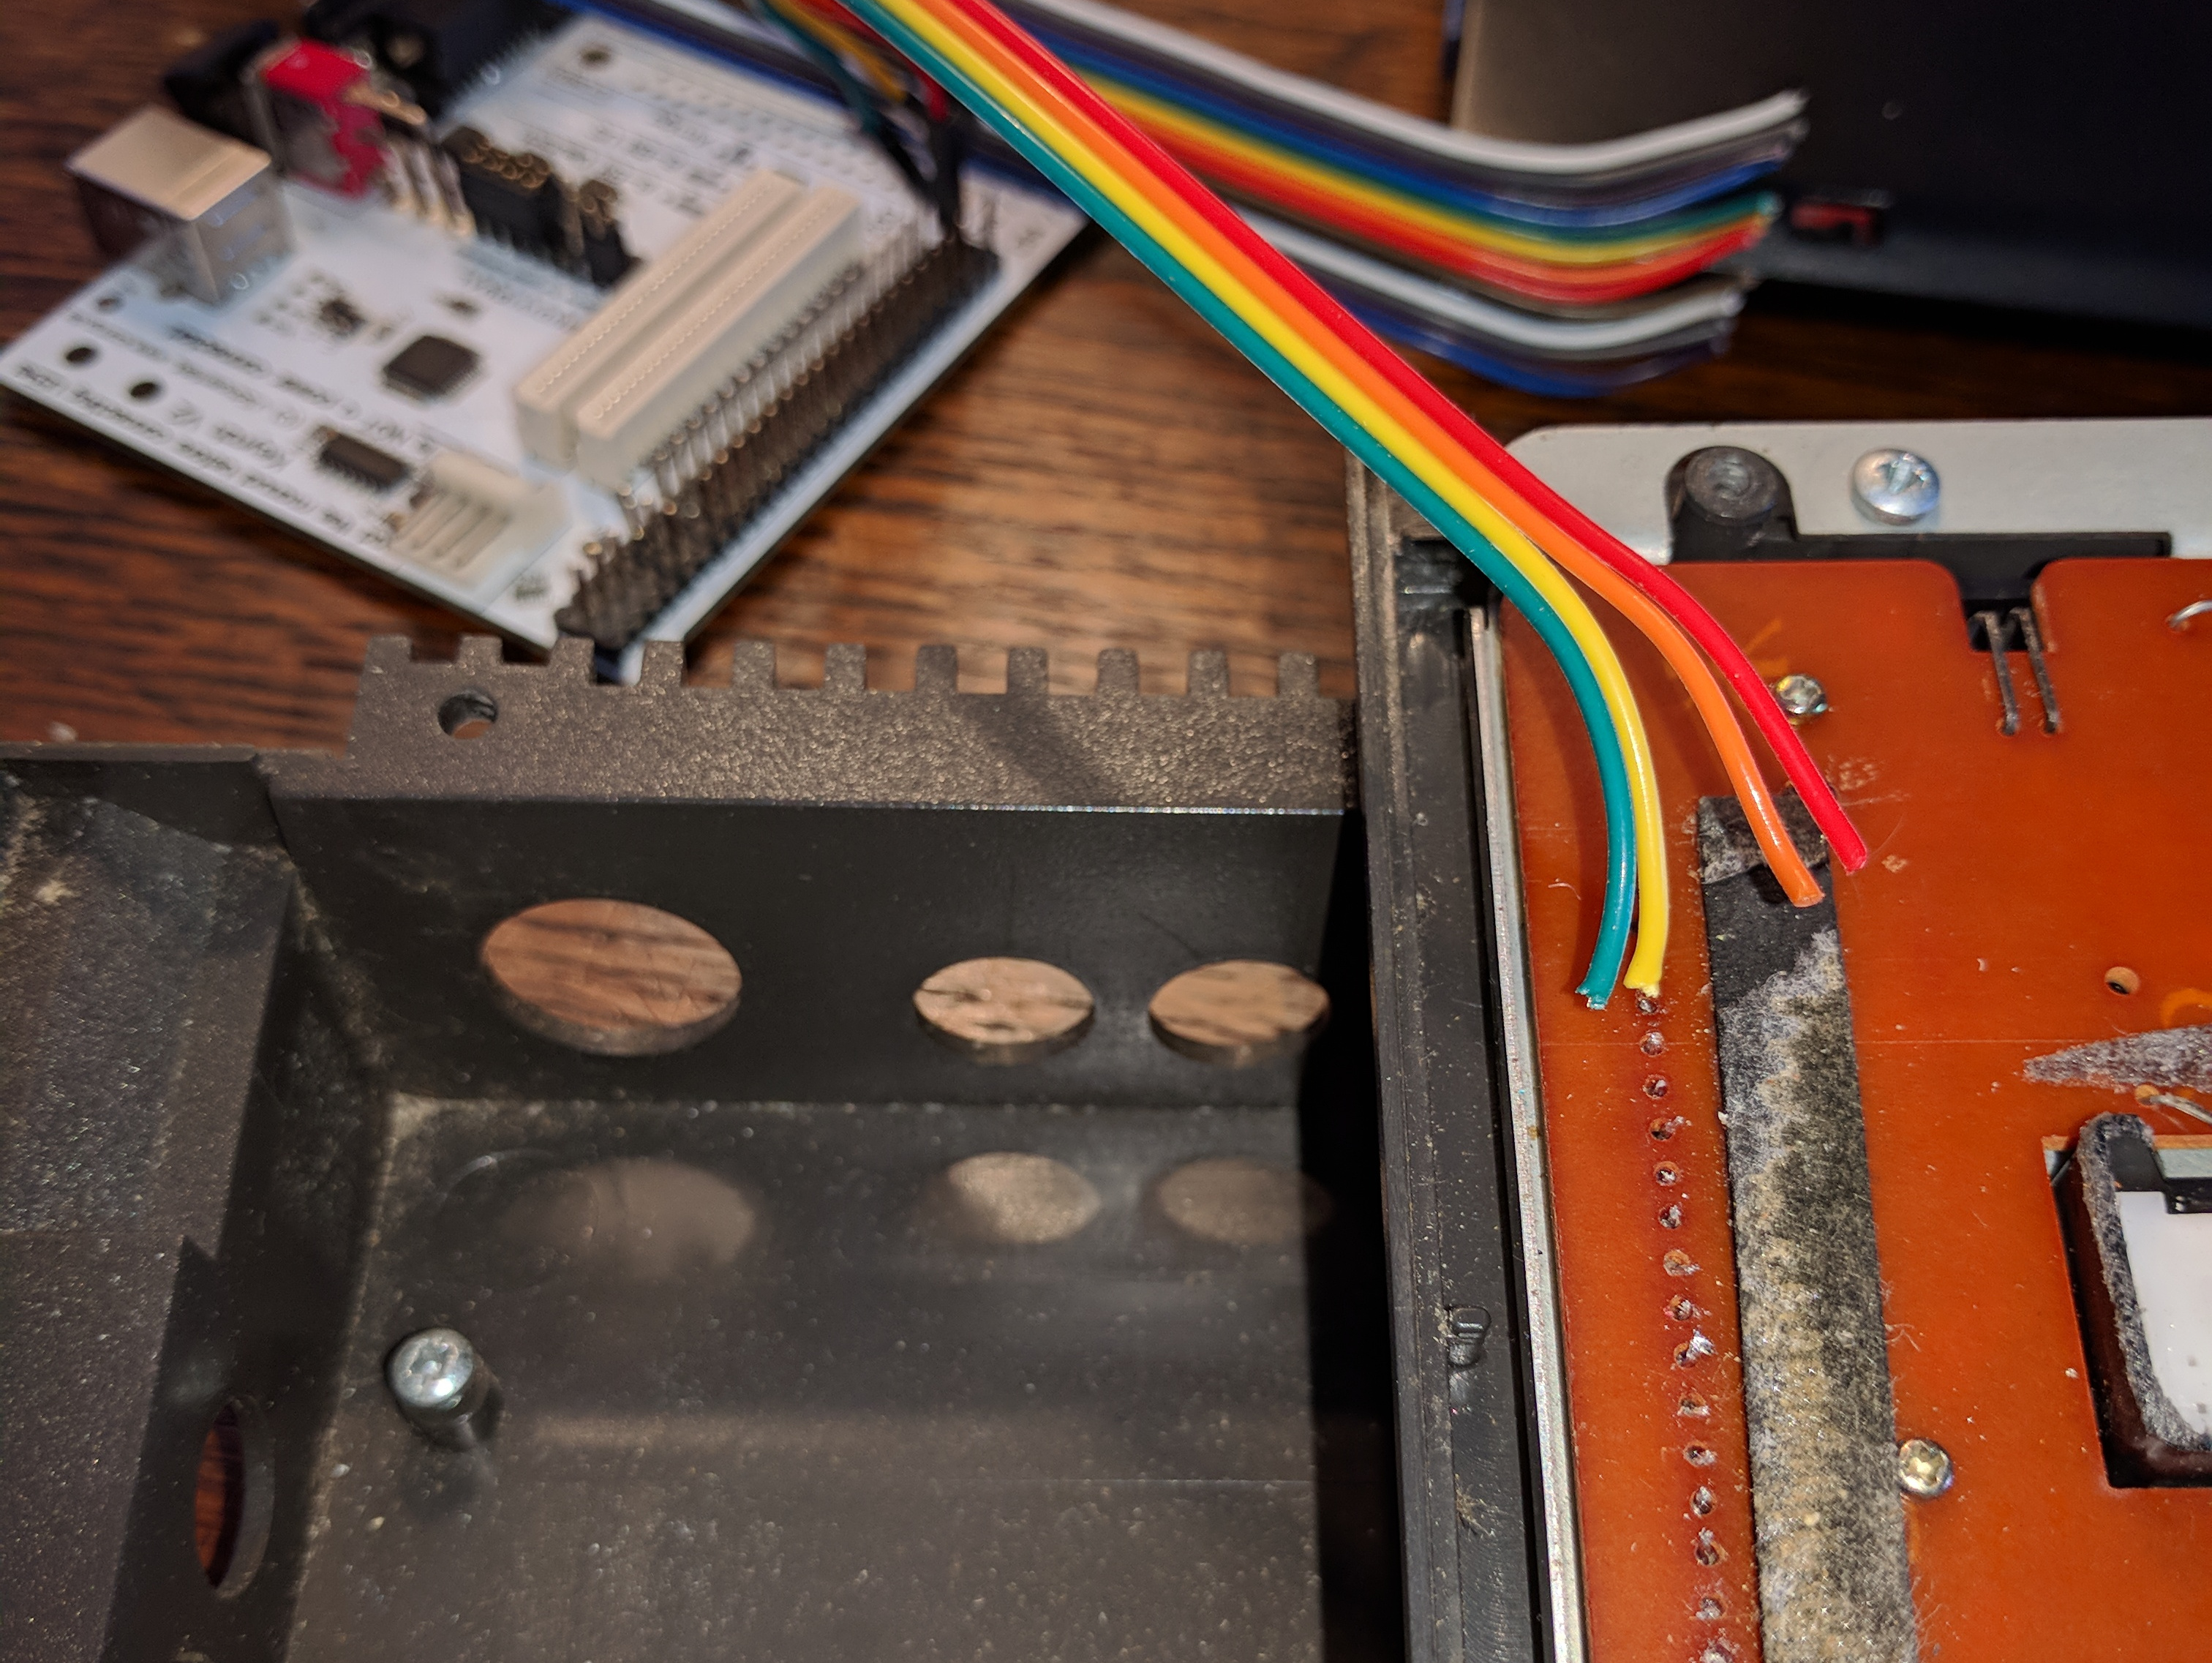
This time I left the connectors on the jumper cables. I bent them over before I soldered them in. Why I didn't do it this way the first time I don't know. It went swimmingly! I did connect the other end to the keyrah the wrong way, but eventually got it right.
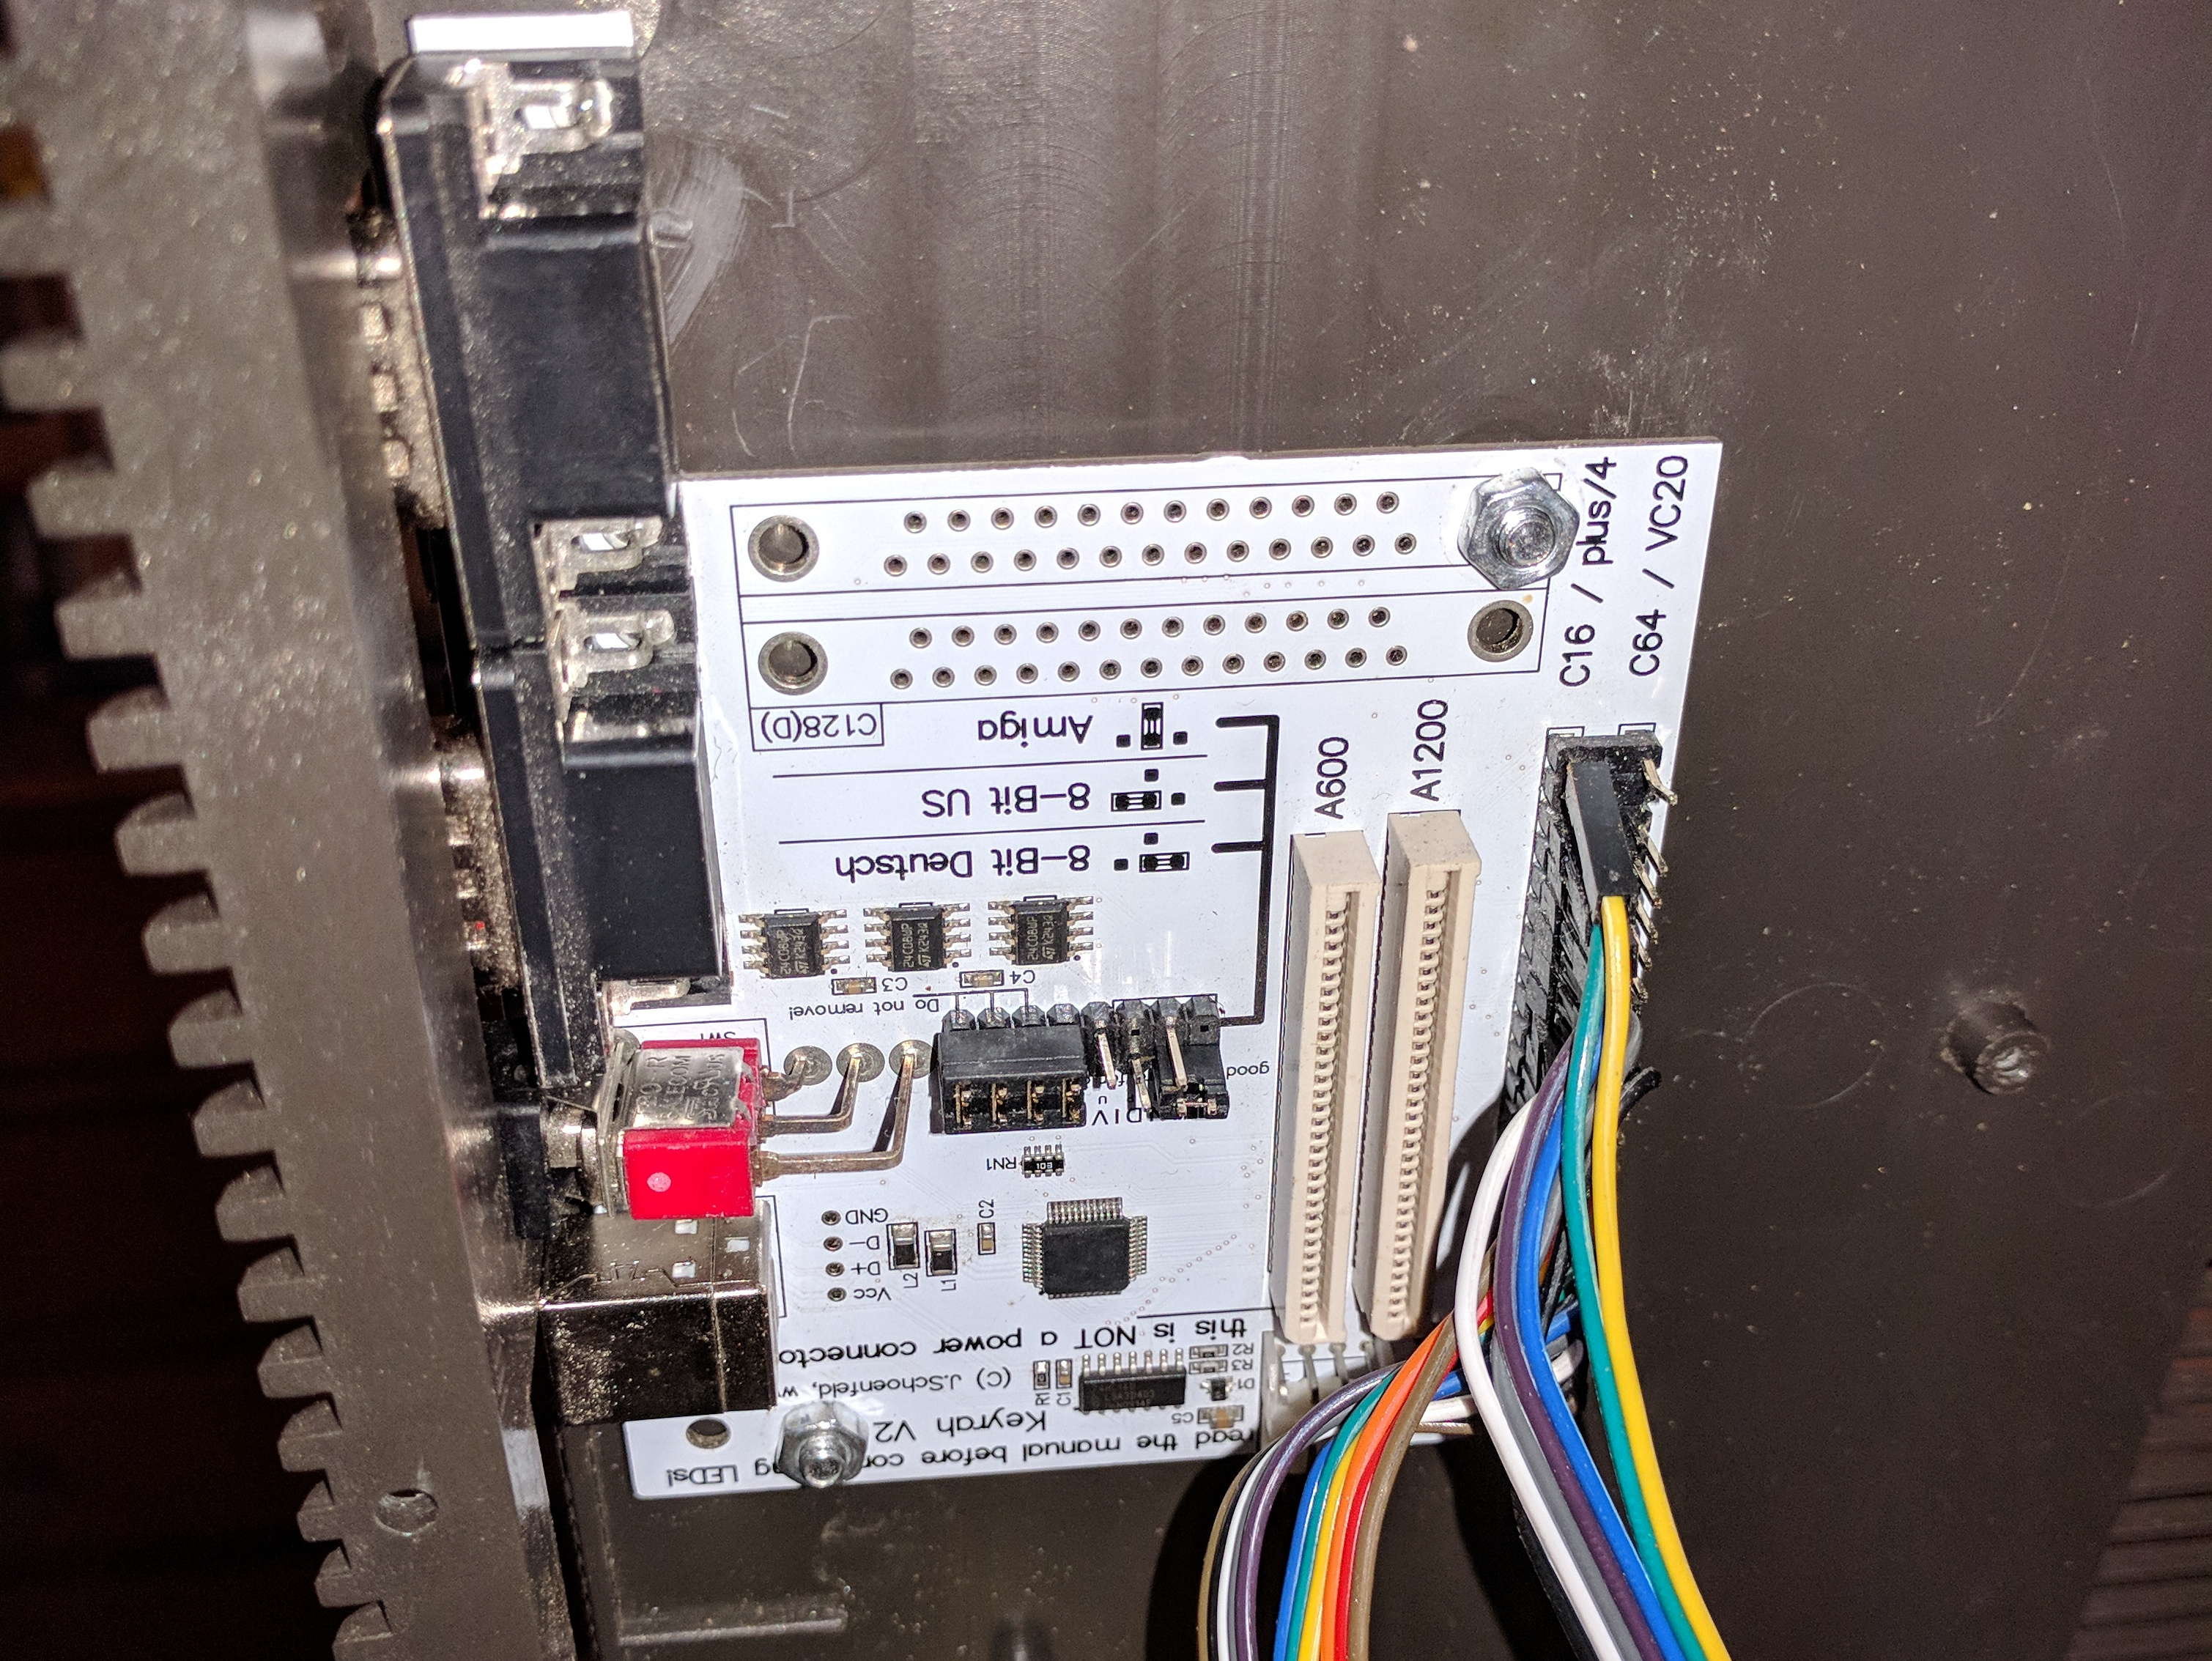
I then proceeded to drill 2 small holes through the bottom casing and used some bolts and spacers to attach the Keyrah to the casing. I used a grinder to flat the bottom of the bolts as much as possible to avoid scratched tables.
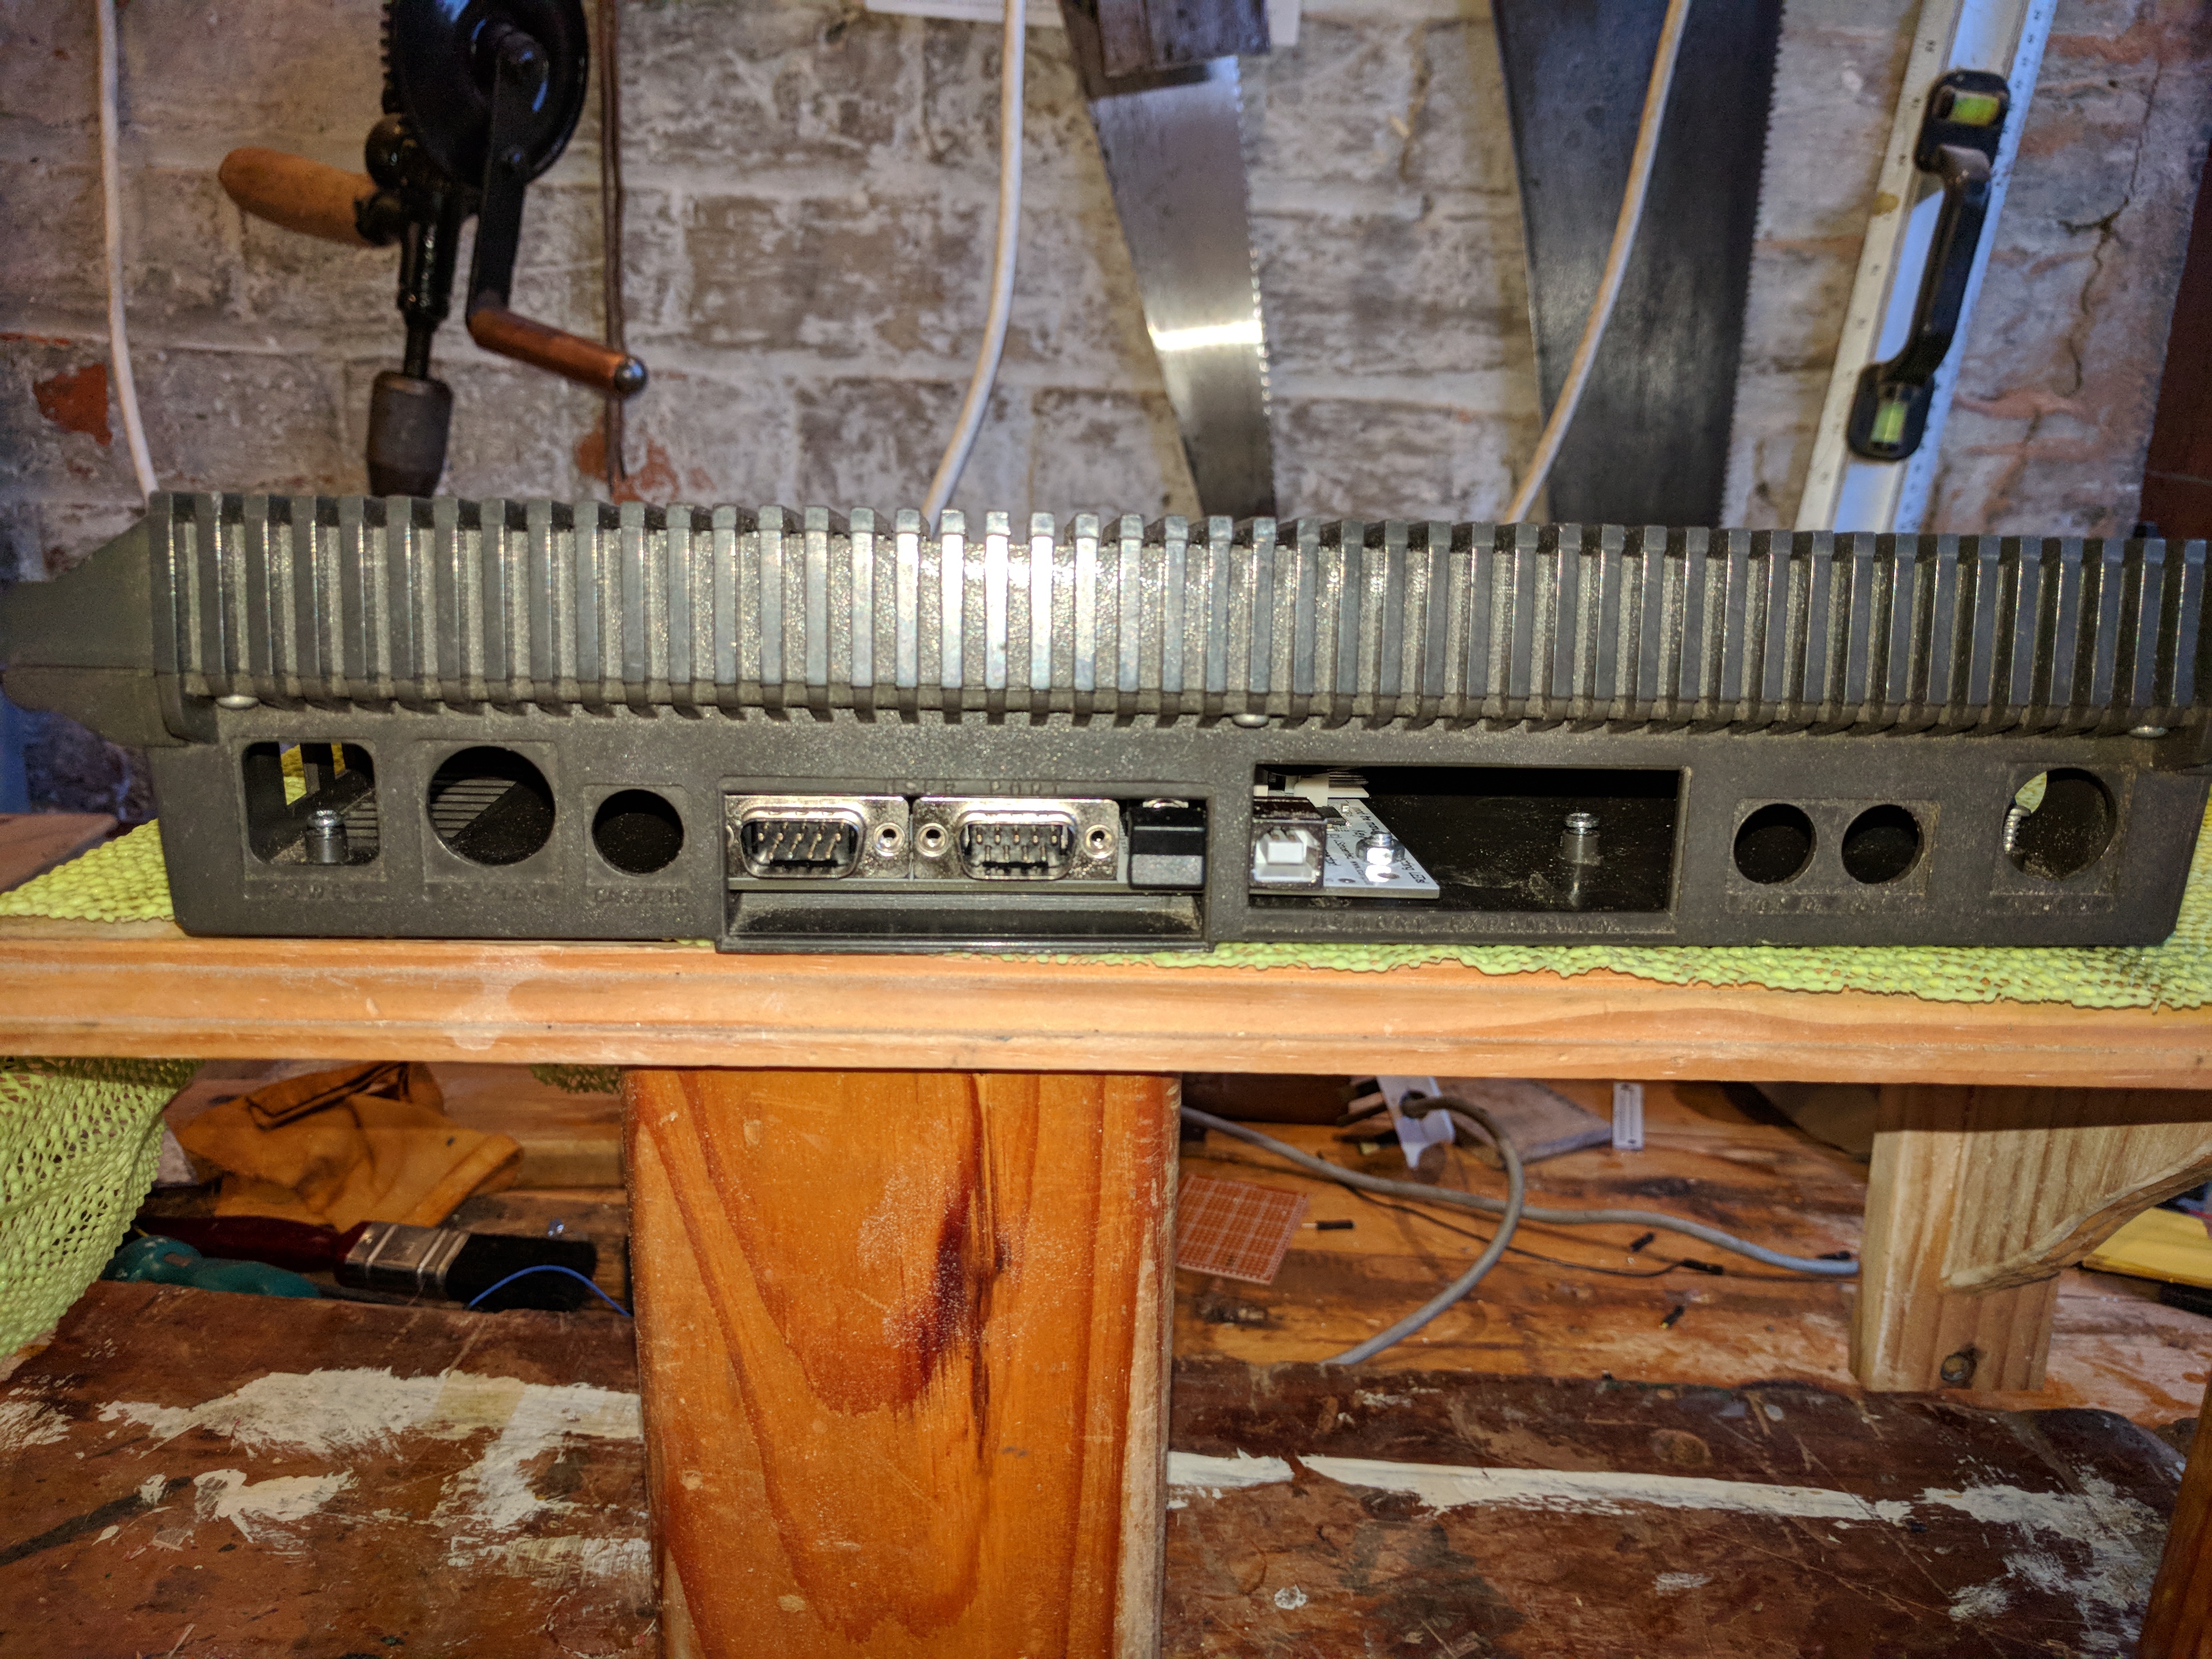
As you can see, it fits incredibly well into the existing user port without any modification.
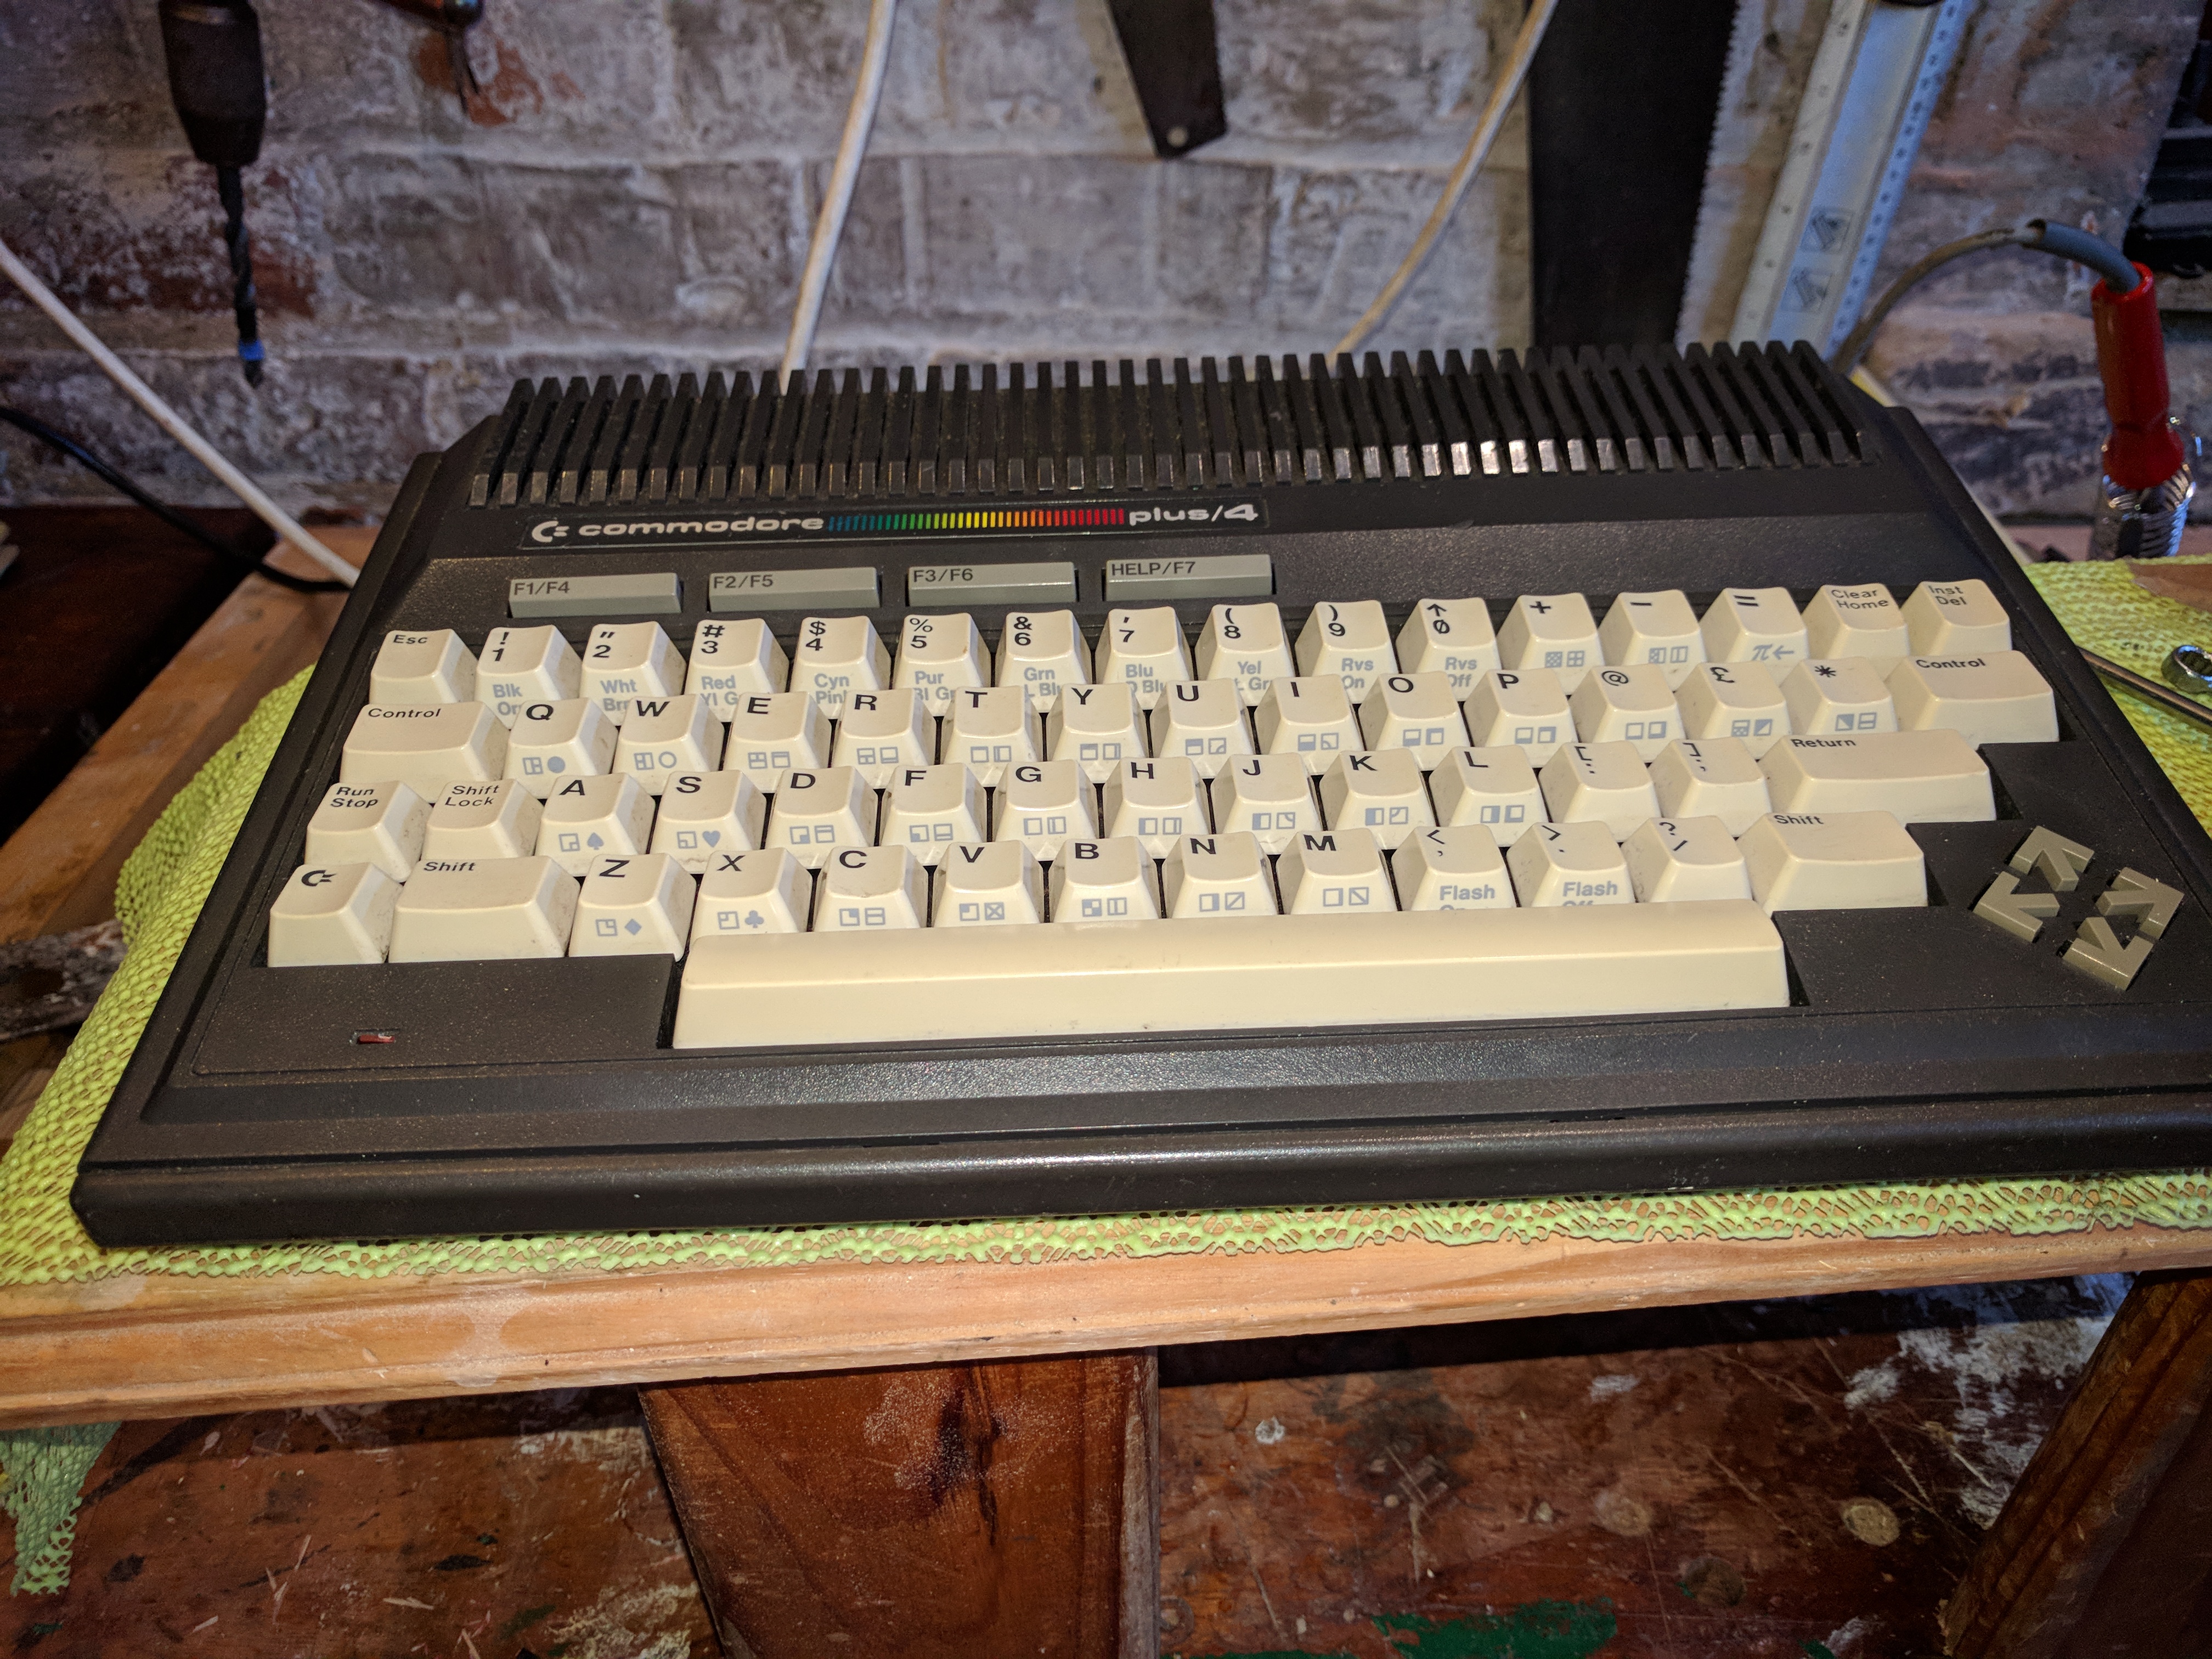
The lovely USB compatible Plus/4.
Since this page was made, I have further worked on the Plus/4 and turned it into a commodore emulating computer. It has a raspberry pi inside and boots up into either Plus/4 mode or C64 mode. I will go into this another time.